
I used a different method this time. First, I cut and clean (sand) the pieces from the runners then build the inner frame of it. I don't want to paint the whole runner then re-paint it again after I clean the nub marks. I think it is a time consuming as well as waste of paint.
After I cleaned the pieces I put them in a ziplock bag sorting out per section. So that when I'm about to paint, I don't have to be confused if that piece belongs to a specific section or not. It is also easier to do it rather than sorting it out by color. And it saves time instead of referring to the manual again.

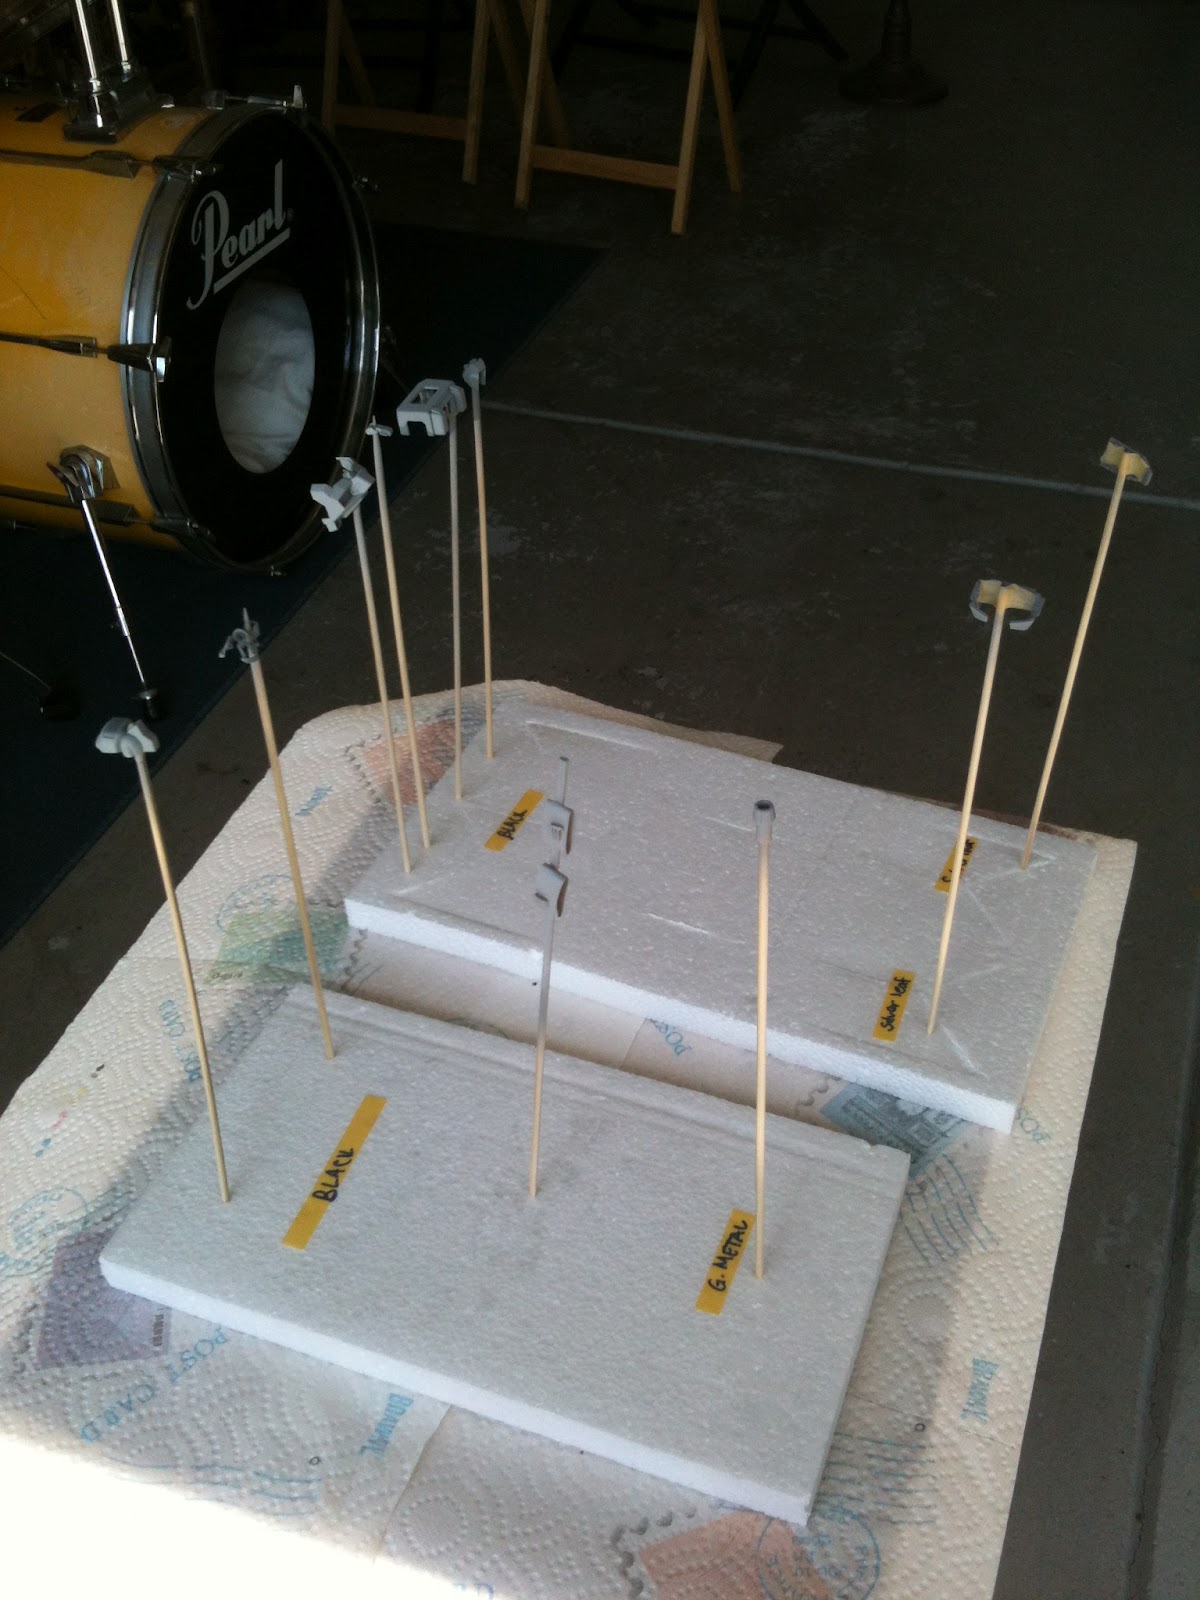
Once it is done, I began to paint the parts. I used Tamiya spray paint as always. For me I recommend Tamiya paint and I will explain later why. Here's the paint/materials colors that I've used.
-Silver leaf
-Italian Red
-Chrome Yellow
-Semi Gloss Black
-Light Gunmetal
-Primer (gray)
-Tamiya Masking tape 10mm

As you can see the picture above, I bought a Model Master bright yellow enamel paint because the Tamiya Camel Yellow is already out of stock at my nearest hobby store. And for some reason, I'm quite disappointed with it. One of the lessons learned, STAY AWAY FROM MODEL MASTER. They suck I used a primer to paint my V-fin but it seems like the paint is not adhering into the piece. And it sprays very thick as well. So what I did, after the paint dried I sand it down again but I accidentally broke his V fin. I'm like FFFUUUUU!!! but yeah, I bought a chrome yellow out of frustration and applied a thin layer of super glue on the broken fin, sand down again then paint.

After the problem is solved. I started painting the rest of the pieces.


Finally, Here's the final product of my build. :D


That's it for now. Next project, Gundam Heavyarms.
this is awesome! im just starting to paint my first model and i've been trying to find out how the painting/top coat process works. you're models look fantastic and i want the same look of finish. just to make sure, from this it seems like you generally use semi gloss paint with flat topcoat? (also, suggestions on panel lines? ex. marker, line filler?)
ReplyDeleteSorry for the very late reply, I haven't visited my blogsite for about several months. As for the paint job, I used Tamiya semi gloss paint, It works very well on the model and it also dries pretty fast and a Matte/Flat top coat for the finishing touch. As for panel lines use Gundam Marker fine tip. Just follow the concaved lines and use a eraser to clean the edges. Good luck!
Deletealso, i was wondering if the heavy arms was flat paint with flat topcoat or semi gloss paint
ReplyDeleteI used a flat top coat on it.
Delete